Looking at the Packets on Your NetApp
This is going to be a very short post, but I just finished attending a NetApp class and had something I couldn’t wait to share. I’m a huge proponent of Wireshark, and have been doing my best to work it in everywhere possible. During the class, we were presented a slide where it talked about troubleshooting and the ability for NetApp to do packet capture. I clearly was not able to hide my excitement because one of the students actually said “looks like this class has already paid for itself with John”. Packet capture on NetApp is actually really easy. I started by creating a CIFS (Common Internet File System) share, so there would be a folder that both the NetApp and my Windows 7 VM would have access to. It also served as a easy way to generate traffic.
To start things off, find your way to the NetApp CLI. When you are there type the following command:
 To break down the command, “pktt start” begins the capture, “e0a” is the interface you are capturing on, and “-d /vol/CIFS” is where your capture file is going to be stored. I would recommend you sending your capture somewhere you will easily be able to access.
We will now stop our capture so the file does not get too big (or burden the filer unnecessarily). To stop the capture, enter the following command (which is pretty self explanatory):
![]() Now that your capture is done, let’s take a look at the file. As I mentioned earlier, I setup a CIFS share on the volume I sent the capture to. Here is what that would look like:
Now that your capture is done, let’s take a look at the file. As I mentioned earlier, I setup a CIFS share on the volume I sent the capture to. Here is what that would look like:
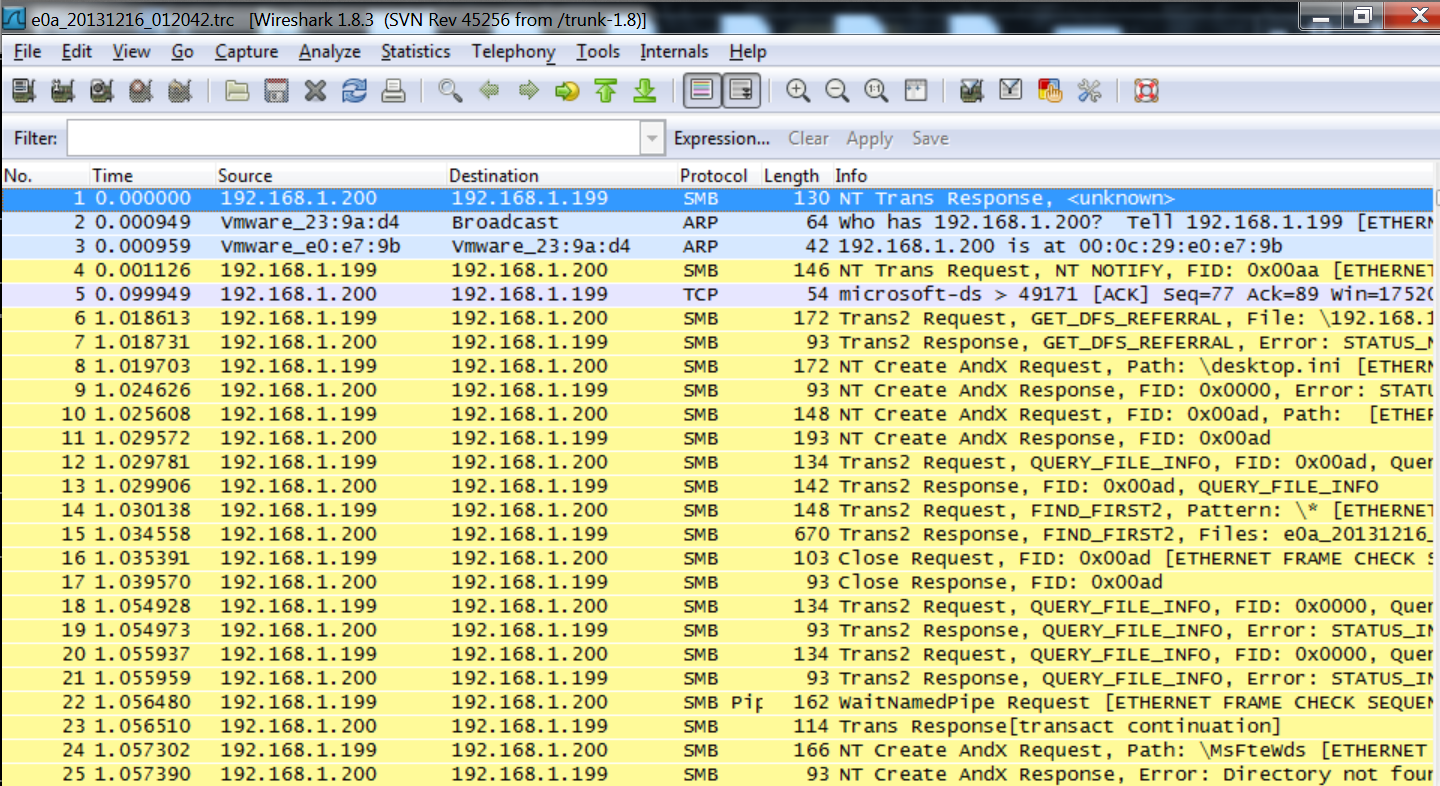
 The .trc file that starts with the interface name is our capture file. Thankfully, no conversion required, just double-click and it will open in Wireshark. It should look something like this:
 That is it. I’m excited to see where this capability ends up taking me. I’m sure there will be some follow-on posts with some detailed examples of how you can put this capability to use.