Using SFTP on NetApp to backup CUCM
When Cisco moved their CUCM platform to a linux appliance, they limited network backups to SFTP only. There certainly are merits to this decision. SFTP uses SSH to secure FTP (which passes clear-text usernames and passwords, and all data in the clear). Until recently, I had been using CopSSH on a Windows XP workstation (in the classroom). This is not only poorly suited for an enterprise employment, it also is not authorized software. At the time, it was the only thing I could get to work and I needed SOMETHING for the class that I was writing. Most of the CallManagers I’ve helped people troubleshoot are version 4.3 (Windows version that will allow you to backup to a simple network share), but every day that goes by, more and more Linux appliance versions are floating around.
We’ve been getting a lot of help around the shop from NetApp engineers (great guys by the way) and I have been slowly learning how these work. One of the first things I asked our engineer was if we could SFTP to the NetApp. Since he told me this was possible, I’ve been on a mission to figure out how to do this. It is not the most difficult process, but it is one of those frustrating scenarios where you are forced to configure it from the command line. I prefer the command line when I’m on devices I am familiar with, but with no formal training and very little reading on NetApp the command line can be a bit challenging.
Before we get started, this post assumes that you have the CIFS license entered and have CIFS enabled. If you are using the VSIM (VM that if free with your now.netapp.com account), these licenses are available on the download page (downloads > product evaluation).
Before we can create our user account that will be given privileges to the backup directory, we need to obtain a properly formatted password. I used the command “cifs passwd” and followed it by the password I would like to have represented (“P@$$w0rd” in this case). I did not want CIFS on my VSIM, so I turned it off when I was done, but if this is a production NetApp you probably do not want to type the “cifs terminate” command.
The next thing you need to know is the name of the volume you would like to give SFTP access to. In this case, I created the “CUCM” volume for my backups.
The above commands turn on SFTP, and set the proper authentication styles. Usernames and passwords that are stored on the NetApp are located at /etc/passwd. This command changes the passwd file by appending (adding) an additional user. The “-a” in the command is very important. Without it, instead of adding the SFTP user you would actually completely overwrite all entries in the file with that user. The format of the command is: “username:password:user id: group id:user id info:home directory:command shell”. You need to leave the colons there to separate the fields. In your tactical environment all you need to do is replace “CUCMbackup” with whatever username you would like to use, change my properly formatted password with yours, and set the home directory to your volume (don’t forget the colon after your home directory).
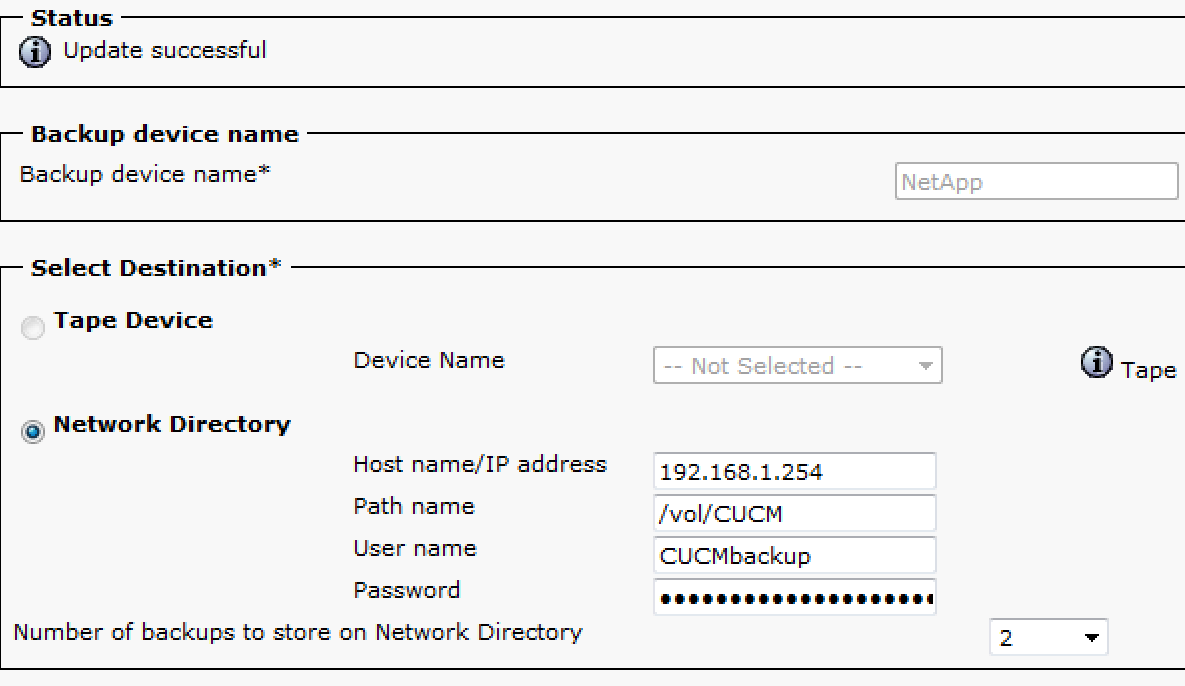
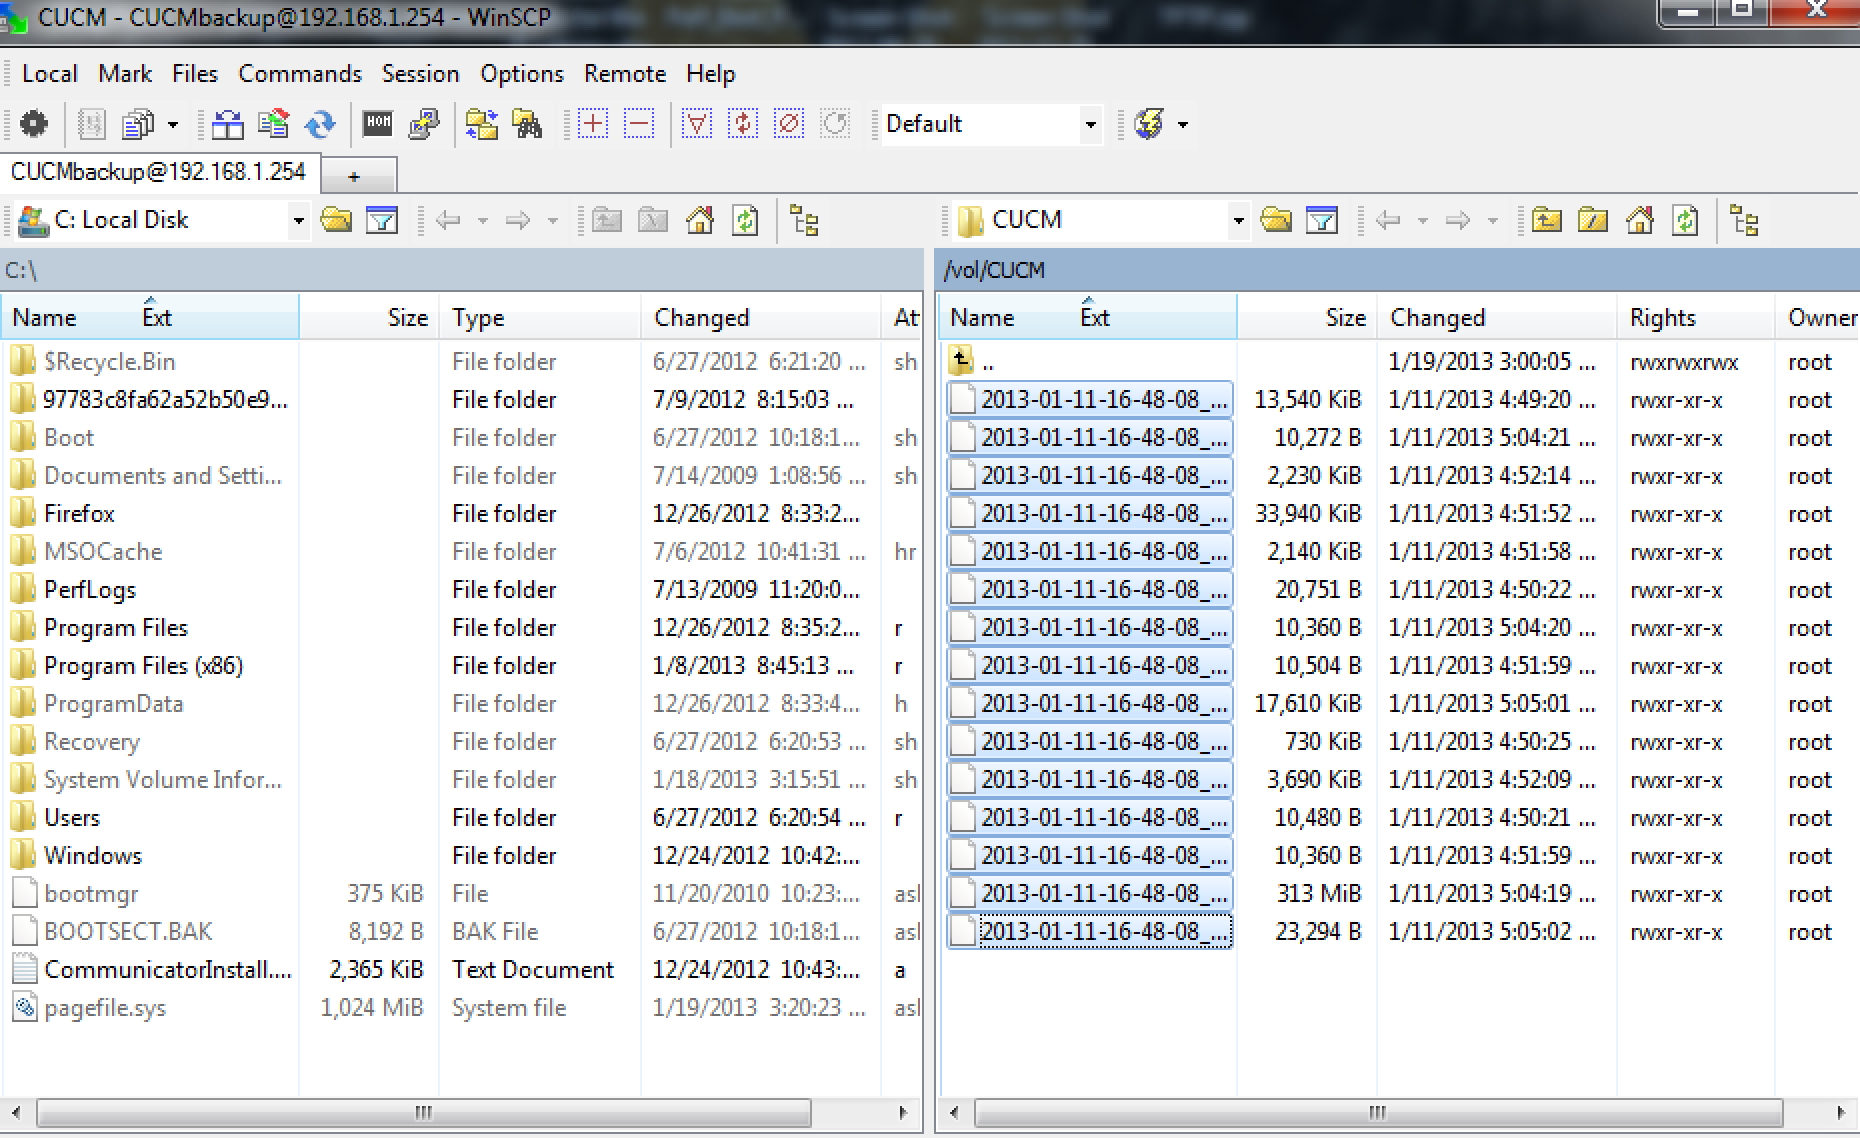
You can verify this one of two ways. You can go into your CallManager and add a new backup device in DRS (as seen above), or you can use an SFTP client (I used WinSCP) and connect to the volume (below).
Another reason why using the NetApp for your CallManager backups would be a good idea is because you will be able to take advantage of the data deduplication capabilities of your NetApp. The idea of deduplication is that when similar data sets are present they will only need to be represented once and all other occurrences point to the original data set. For instance, if you have 3 windows backups that are exactly the same, the first backup will be written to the NetApp and then the second and the third backups will say “look at backup one”. The explanation is a bit of an oversimplification, and the exact way this is accomplished is part of the NetApp “secret sauce”, but the concept remains. This saves a significant amount of space. According to the NetApp documentation, you reap the most benefits of deduplication when performing backups. The “NetApp Data Compression and Deduplication Deployment and Implementation Guide” claims their internal testing revealed a 95% space savings for Backup Data.
A couple sources to cite:
http://cosonok.blogspot.com/2012/01/netapp-data-ontap-81-enabling-sftp.html
http://www.cyberciti.biz/faq/understanding-etcpasswd-file-format/
Also a thanks to @kalebksp (on twitter) for helping me troubleshoot.


